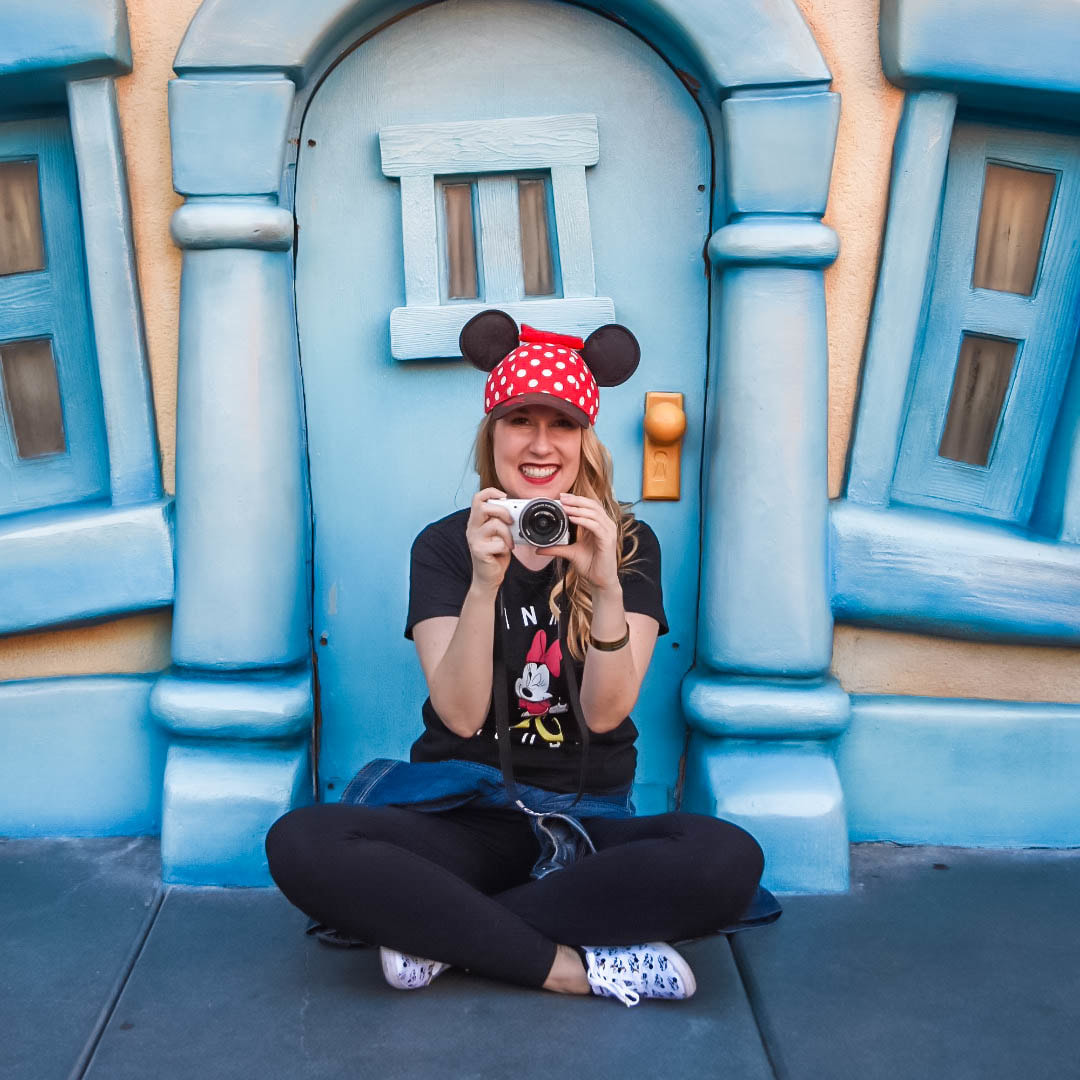
A lot of people on Instagram have recently been asking me “what kind of camera do you use when you go to Disney?”, so I thought I’d write a post about it. I’ve been on a 3-year photography “journey”, so-to-speak, and there’s a bit of a backstory to how I ended up using the cameras I currently use. I’m 100% self-taught and a lot of what I’ve learned has been trial and error. There’s a ton of information out there on the internet and you have to go with what works for you. Just because a photographer you really admire suggests something, doesn’t always mean it’s going to be the best fit for your needs. So with that said, I’m going to take you through what equipment I’m currently using and why.
If you just want the short version, I am now strictly a Sony user. I rotate between the Sony RX100 and the Sony a5100. If you want the longer version inclusive of my backstory, keep reading…
CAMERAS
I have finally settled on two different cameras that seem to be working best for my Disney Parks trips: the Sony RX100 and the Sony a5100. I did not start out with these but it is where I netted out. I rotate between the two depending on the day. The RX100 is my travel camera and the one I carry with me when I don’t really want to carry a camera. The a5100 is my everyday camera.
Let me start from the beginning. I have always loved photography from a very young age but have been pretty casual about my camera purchases. When my favorite Canon ELPH point and shoot died on me from one too many trips to the beach, I decided it was time to “up” my camera equipment game. The natural upgrade seemed like a DSLR camera but I had zero information on which to get. I spoke with lots of friends and was recommended that I try a moderately priced crop-sensor Nikon, and so I purchased the Nikon D3300. I had SO much fun practicing around the house with my new Nikon and then I brought it to Disneyland… My neck was SO sore after that day. It ended up not being much fun. Not one to give up, I continued to bring it to Disneyland whenever I could. I tried everything. I read on a photographer’s blog that you really need the correct strap to comfortably wear a DSLR all day and he recommended the Fotasy “sling”. So I tried it! But after a day of wearing it around the parks my shoulder hurt AND I had inadvertently damaged my camera because it was swinging at my side. I tried carrying the camera in my backpack but then I hardly ever got it out because it wasn’t convenient. So long story short, when nothing worked, I stopped bringing my Nikon to the parks.
Discouraged by this, I started looking to see if there was a lightweight alternative that would take similar quality photos. From my short stint with the Nikon I knew that pictures from a DSLR were far superior to my iPhone photos and really didn’t want to have to go back to relaying on it if I didn’t have to. That’s when I started to read about Sony’s breakthrough point and shoot, the RX100, that took professional grade photos and fit in your pocket. All of the photographers I admired were talking about it. Not to replace their favorite gear but to always have on hand if you needed something small. And the photos I saw coming from their accounts were STUNNING. So I purchased it, just in time for my second trip to Walt Disney World. This is when I knew I’d hit gold. It has great functionality (allowing you to shoot manually) and a surprisingly good lens. (I’m by no means a professional photographer and some of the more technical elements are lost on me, so if you want to read about the specs of the camera from a trusted source I recommend checking out a few bloggers who know what they’re talking about (like DPReview) for more info.)
https://www.dpreview.com/products/sony/compacts/sony_dscrx100
After this I was firmly team Sony. You may ask, if I was so happy with the RX100, why did I continue to look at new equipment? Well, even though this is definitely the perfect park camera if you just want something small to keep in your pocket, there were some limitations around focal length and aperture for what I was trying to accomplish. For example, there are times when I want to be able to zoom in on something and still get that beautiful blurred effect in the background or I want to take pictures on a ride with low lighting. So for those reasons, I decided to sell my Nikon in search of a lighter alternative. And that’s when I was introduced to the world of mirrorless cameras. After quite a bit of research I settled on the Sony a5100 because it was at a price point I could stomach, with similar specs to the Nikon D3300, and allowed me to dive into this world on somewhat of a trial basis. Since then, I have not been disappointed. The camera is the perfect weight for me. I can wear it around my neck all day without any soreness and it still takes GREAT pictures, AND you can get some fabulous lenses to use with it. I would highly recommend for anyone who wants an entry level lightweight DSLR equivalent.
And so now that brings us to lenses….
LENSES
The first lens I wanted invest in, after I purchased the Sony a5100, was a zoom lens because I like to take photos of the parades and shows. I ended up getting the standard 55-210mm 4.5-6.3 because a friend was selling it. This lens has become a FAVORITE. The quality is great (so much better than the kit lens that comes with the camera, in my opinion) and has a pretty great range for my needs.
The second lens I purchased was the Sigma 30mm 1.4. This is my lowlight lens. It takes great portrait photos and the quality is undeniable. It has become my staple lens and the one I use most often.
TRIPOD
There is one final piece of equipment that is essential to any beginner’s photography arsenal, and that is a sturdy tripod. If you want to do any sort of nighttime photography, you’re going to need this. I realized early on the importance of the tripod, when I tried to take photos with my RX100 at night and everything was blurry.
Before I even started looking for a tripod, I knew I was going to have the same issues I had with the Nikon – weight. I mainly wanted to take photos of the fireworks shows and knew that I’d have to carry it around with me all day unless I wanted to pay for a locker each and every time I planned to stay at the parks from open to close. So after quite a bit of research I ended up finding the Dolica TX570DS, and it has been my trusty companion ever since. It is only 2.5lbs (the lightest I was able to find that didn’t sound like a piece of crap) and is sturdy enough to hold both of my Sony cameras. The only downside is that it doesn’t get quite as high as some of the other tripods out there (57 inches) but it’s fine as long as I don’t get someone super tall standing directly in front of me.
All this said, the equipment is only as good as the user. It’s super important to learn all you can about light and exposure, and then PRACTICE PRACTICE PRACTICE. I have found YouTube to be an invaluable resource, as well as blogs, photographer friends (who motivate and inspire me), and photography books (a few of which you can find in my Amazon shop link below). The more you learn, the better you’ll be.
Lastly, I bought almost everything mentioned in today’s article on Amazon. I’m a bargain shopper and unless purchasing used, I’ve found that it’s hard to beat the prices on Amazon. So that said, in an effort to help everyone who’s interested, I created a custom photography shop with links to all of the items I use at the parks on a regular basis:
https://www.amazon.com/shop/adventures_in_lindseyland
I hope you found this helpful! …And as one aspiring photographer to another, if you have suggestions of things that have been working for you in your Disney photography journey, please leave a comment below!


